A coupler is welded or bolted to the front of your trailer frame. It mates with the trailer ball for a secure swiveling connection. How to choose a trailer coupler isn’t rocket science. Here’s a 4-step guide to get you underway.
Step 1: Select the Correct Size of Trailer Ball
Ball couplers are available in several sizes. There are four US standard sizes:
- 1 7/8 inches
- 2 inches (aka 50mm)
- 2 5/16 inches
- 3 inches (gooseneck only)
2” and 2-5/16” are the two most common sizes for conventional trailering. 1-⅞” is reserved for light-duty trailers, like kayak trailers and motorcycle trailers.
Larger trailer balls can tow more weight. Ensure the coupler on your trailer is large enough for its GTWR (Gross Trailer Weight Rating) by comparing the values in the table below. Remember that coupler must meet or exceed its GTWR, not a lesser estimate of your calculation!
If you are designing a homemade trailer and have not yet calculated the final GTWR, you may estimate it as the sum Gross Axle Weight Rating (GAWR) of all axles plus 10% extra, or phrased mathematically: GVWR = combined GAWR*1.10.
For example, if you have a trailer with two 3,500-lb axles, you could estimate the GVWR as (3500+3500)*1.10 = 7,700 lbs. Referring to the table below, you would need a 2” ball coupler rated for at least 7,000 lbs.
| Ball Size | Shank Diameter | Weight (GTW) Capacity |
| 1-7/8″ (Light Duty) | 3/4″ to 1″ | 2,000 to 3,500 lbs. |
| 2″ (Medium Duty) | 3/4″ to 1-1/4″ | 3,500 to 12,000 lbs. |
| 2-5/16″ (Heavy Duty) | 1″ to 2″ | 6,000 to 30,000 lbs. |
| 3″ (Gooseneck) | 2″ | 30,000 lbs. |
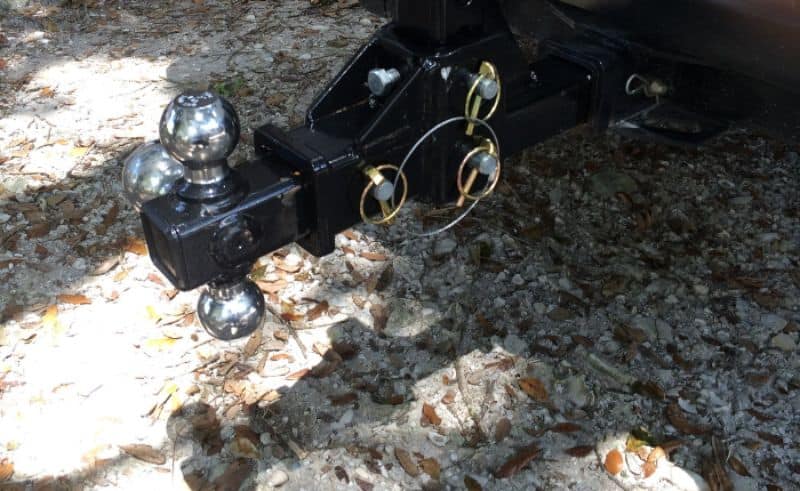
Step 2: Decide How the Coupler Will Mount to Your Frame
A-Frame vs Straight Coupler
The standard for welded trailers is an A-frame ball coupler welded to the tongue rails, which are set at a 50-degree angle. A typical coupler is made of stamped sheet metal steel with manual latch.
Smaller trailers may have a straight tongue instead of an A-frame design. Straight tongues require channel-mount couplers. Most straight couplers are designed to mount on a 2” or 3” wide tube.

One benefit to an A-frame coupler is that it has a pass-through hole and mounting holes for an A-frame tongue jack built in.
There are other styles of couplers: surge brake, pintle, fifth wheel, and gooseneck. Those are not covered in this guide. This guide is for couplers for conventional trailering only.
Weld-on vs Bolt-on
A ball coupler can be attached to the frame tongue either by welding or bolting.
- Welding is by far the most common and most affordable. Couplers can be removed and replaced by grinding off the old welds.
- Bolting is a distant second. Grade 8 hardware or stronger is usually recommended. Bolting is an easier DIY install and repair job.
Note that – usually – you can weld a bolt-on coupler to a frame if you choose. But be warned that most bolt-on couplers already have a zinc coating, which will need to be ground off, and you’ll need to protect yourself from the hazardous fumes when welding.
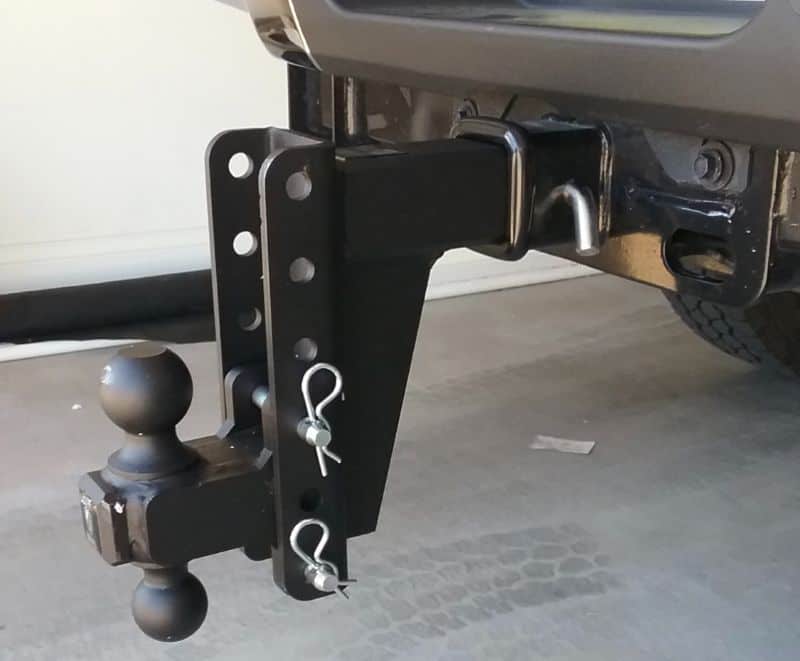
Some trailers have weld-on vertical channels for adjustable couplers. These channels have holes for varying positions and are welded to the main frame. Adjustable couplers are common on construction trailers, which may be towed by a variety of tow vehicles.
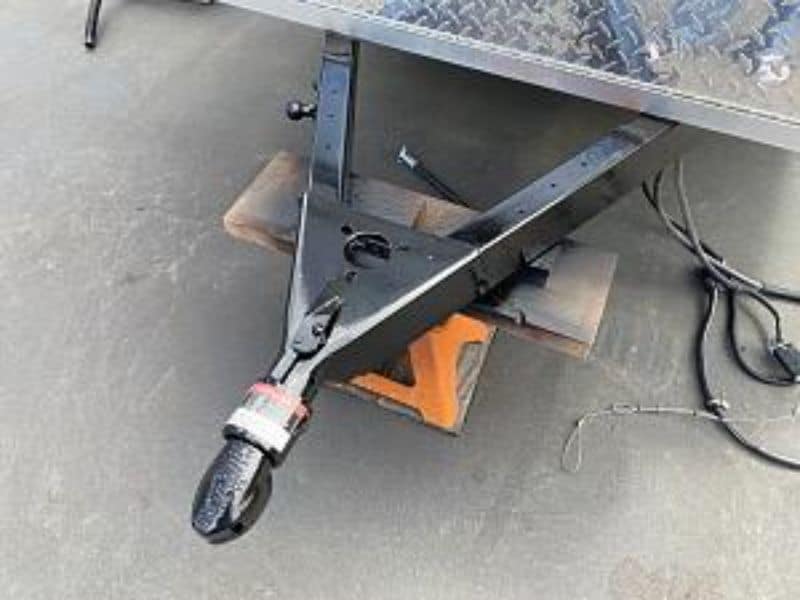
Offroad trailers and some boat trailers may have extendable tongues paired with a weld- or bolt-on straight coupler. Heavy-duty dump trailers and the like may have flat-mount ball couplers attached with Grade 8 hardware, but that’s beyond the scope of this guide.
Step 3: Choose the Latch and Locking Style
Common latch styles for couplers include:
- No-LatchTM
- Trigger
- Yoke
- Wedge (auto latch)
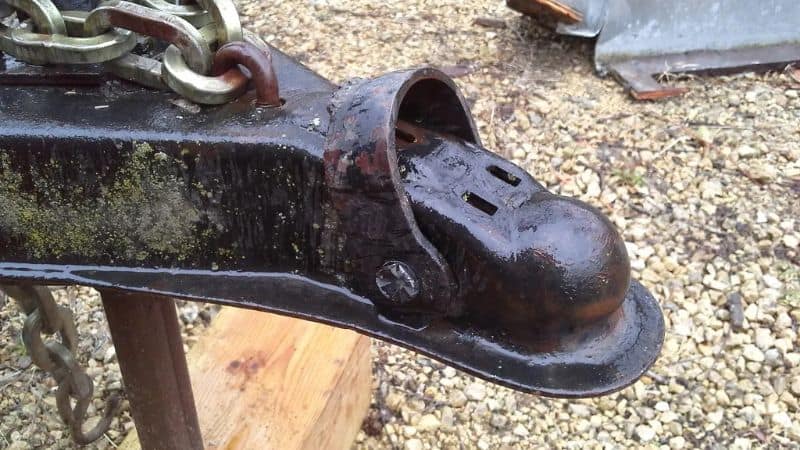
- Sleeve (Bulldog)
Most of these latches aren’t exactly precision instruments. Releasing a trigger latch under load may require a rubber mallet and a bit of unresolved childhood anger.
Auto-latching versions lock automatically once the trailer ball seats. They are a common upgrade on premium trailers.
The most reliable of the bunch is properly the sleeve-lock coupler, made popular as the Bulldog coupler. A collar (or sleeve) slides up the shaft of the coupler and positively locks the ball seat tongue in place. These couplers have earned a reputation for being the most reliable under heavy loads.
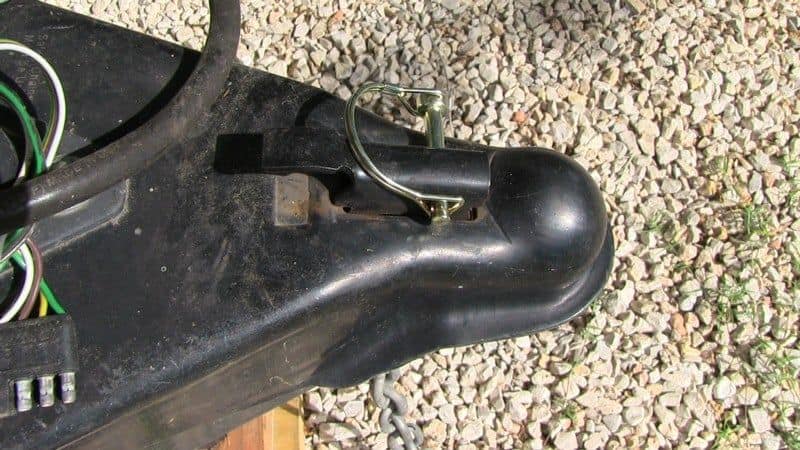
A coupler latch should always be secured with a safety pin while in transit. A simple pin and cotter pin is a popular, reliable combination.
All couplers should be approved under SAE J684. Don’t buy knockoff, untrustworthy couplers!
What About Coupler Articulation?
A ball coupler allows the trailer to swivel sideways (horizontally) relative to the tow vehicle. Its vertical movement is more limited. A ball coupler will usually bind if the vertical movement exceeds 15-20 degrees. Thankfully, that is not a problem for all but the most rugged off-road trailers and campers. These campers would be better served by an articulating hitch design such as a pintle, Max, or Lock n’ Roll hitch. You can learn more about articulating couplers here.
Step 4: Pick the Coupler Finish
- Raw: Sold as raw steel with no finish. Choose raw steel if you plan to paint or otherwise finish your trailer yourself. Raw steel normally comes with a rust-preventative oil coating that must be degreased prior to finishing.
- Painted: By far the most popular coating, a painted coupler will have a thin (1-5 mil) coating from a dipping or spraying process. This is a great choice if you plan to paint your trailer yourself.
- Powder coated: A powder coating is a little more durable than a painted finish, but if the coating fails, it needs to removed and repainted completely.
- Zinc: Many couplers are hot dipped galvanized into a zinc bath for a long-lasting rust-resistant finish. Zinc is an excellent finish, but if you weld the coupler to the frame, you’ll need some other way to treat and finish the welds.
P.S. A Word on Safety Chains
When you install or replace a coupler, it’s a good time to inspect or replace your safety chains as well. Use safety chains rated for at least the GVWR of your trailer. Install the chains such that they cross underneath the coupler when attaching to the tow vehicle, and they allow just enough length for the tow vehicle to execute a complete 90-degree turn.
Leave a Reply