Ask The RV Engineer
Home
Topics
RV 101
Towing
Maintenance
Electrical
Plumbing – Waste
Plumbing – Fresh
Propane
Construction
Appliances
Slide Outs
Travel Tips
Index
Reader Q&A
RV Resources
Printable RV Checklists
Shop RV Accessories
Discount Clubs & Memberships
My RV Industry Musings
My Favorites for RV Education
RV Newbie Questions
Federal Trailer Lighting Info
About Me
My Story
Contact
Category:
Construction & Design
February 24, 2024
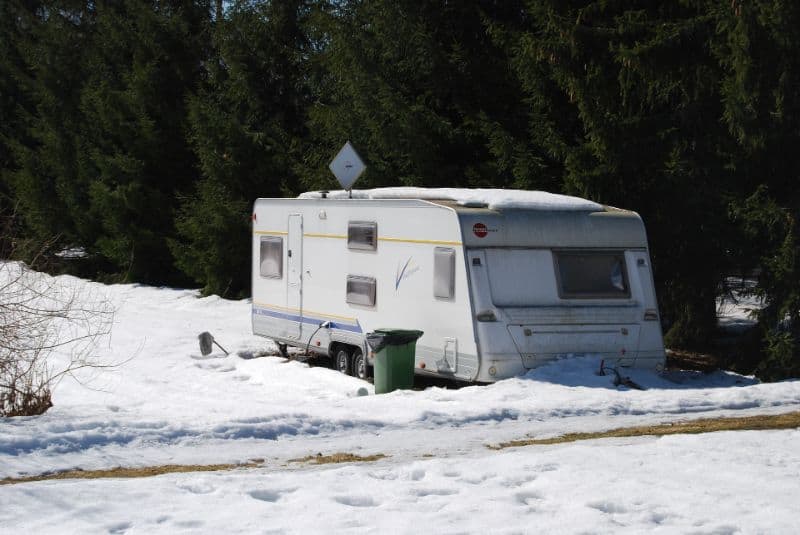
Is Anything Better than a Fiberglass RV Roof?
January 29, 2024
8 Common Signs of an RV Roof Leak
January 15, 2024
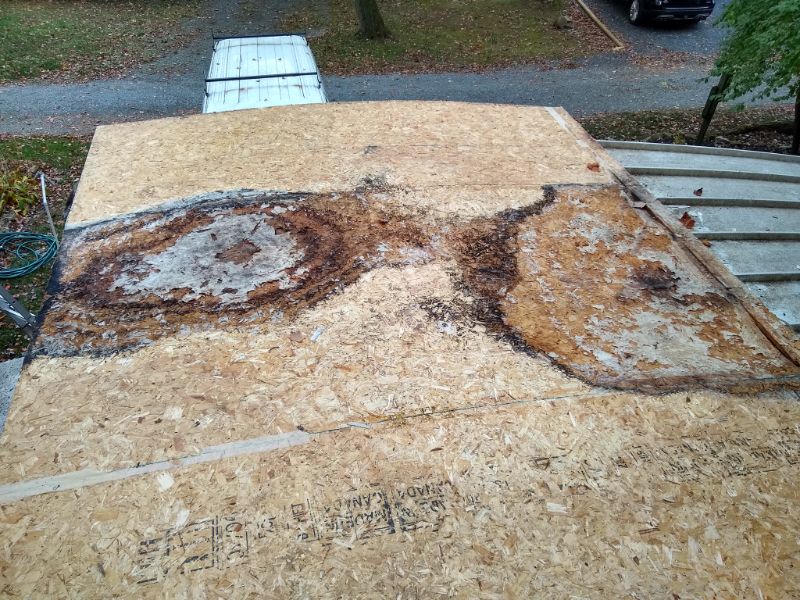
Engineer Answers: What Causes RV Fiberglass Delamination?
November 30, 2023
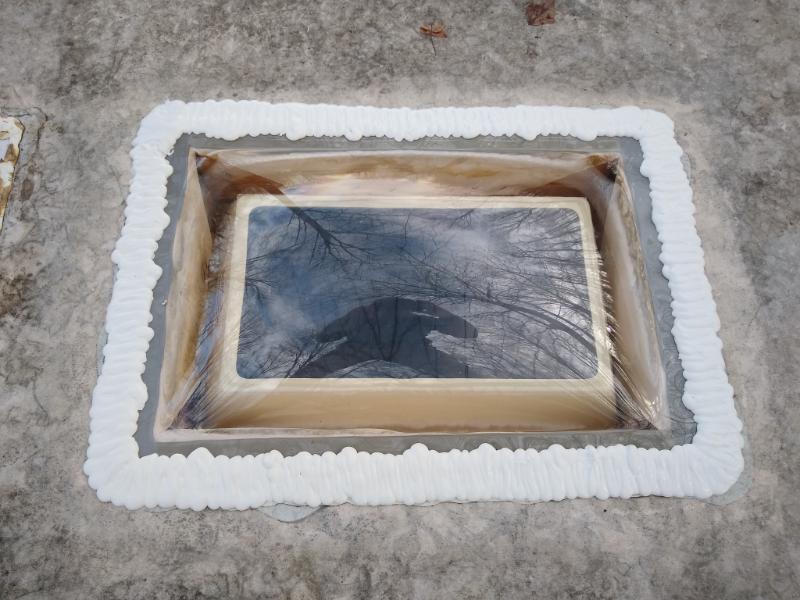
An RV Technician’s Guide to Replacing Your RV Skylight
June 12, 2023
Troubleshooting: How to Fix a Leaking RV Baggage Door?
May 18, 2023
“Isn’t Marine-Grade OSB an Oxymoron?” – Letter from a Reader (He’s Right)
April 6, 2023
“4-Season Ready RVs? Forget It!” – Letter from a Building Science Guru
August 18, 2022
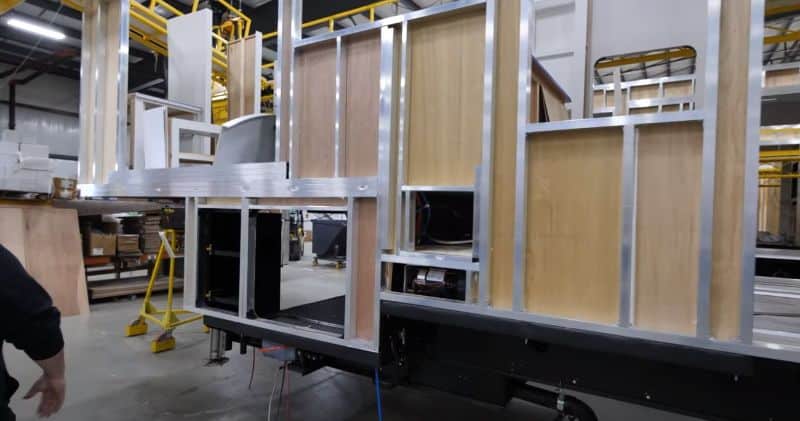
Wood or Aluminum Framing in an RV – Which Is Best?
August 4, 2022
Here’s Why a Ducted RV Air Conditioner Is a “Most Wanted” Feature!
August 2, 2022
What Is a Walkable RV Roof?
July 23, 2022
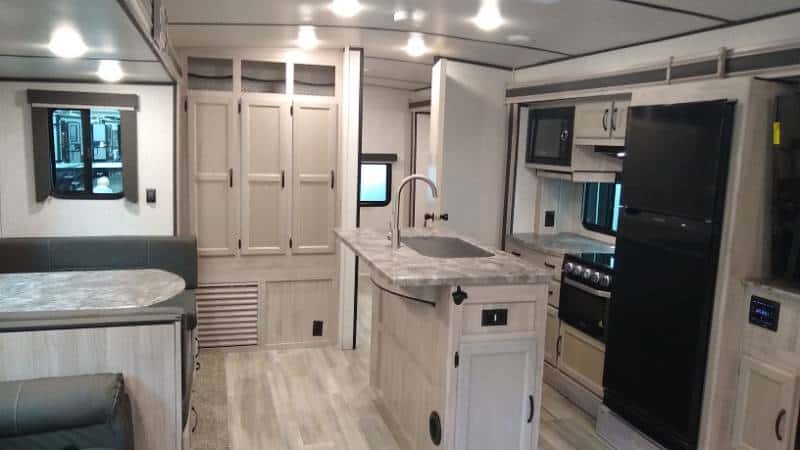
What Are RV Cabinets Made From?
July 14, 2022
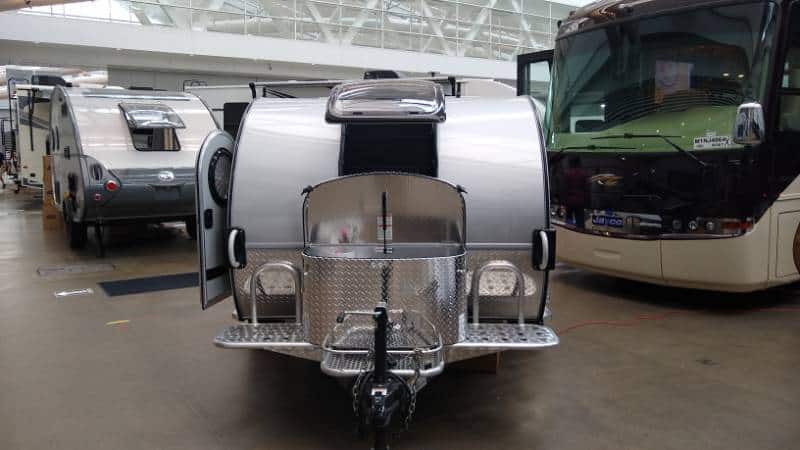
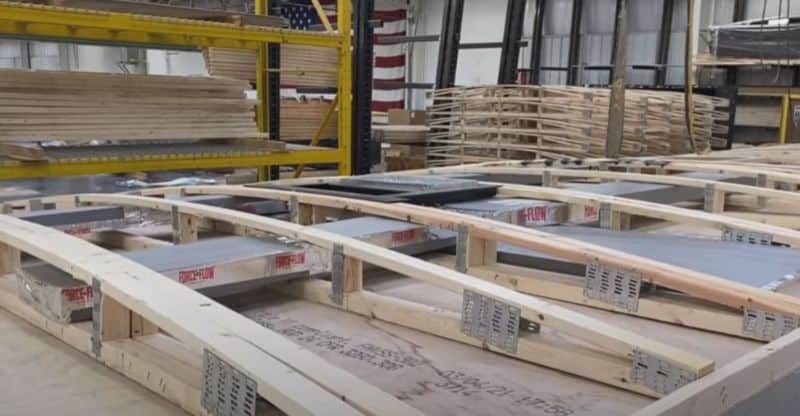
6 Types of RV Roof Materials – Advantages and Disadvantages
Search for an article
Search
Search