Replacing a Dometic or Thetford gravity toilet water valve is easy. It takes 20-60 minutes and only requires basic hand tools.
RV toilet water valves are used on gravity RV toilets to control the flow of water when flushing. When the foot- or hand-lever is pushed down, the valve allows water to flow into the toilet bowl. When the lever is released, an external spring closes the valve and shuts off the water flow.
RV toilet water valves typically go bad for three reasons:
- Manufacturer’s defect
- Exposure to high water pressure (80 psi or above)
- Not winterized properly
- Old age, either from dried-out seals or limescale buildup
Toilet water valves can fail in several ways. They can spray a fountain of water in the air (don’t worry, it’s not black water). They can allow water to seep into the toilet bowl – and worst case, even overflow it in the dead of night!
In some cases, the water valve isn’t broken, only clogged with hard water mineral deposits. In these cases, the valve can simply be removed and cleaned. But in cases of catastrophic failure, when ice or high water pressure has cracked the molded plastic housing, the valve must be replaced.
RV toilet water valves cost between $20 and $75. The OEM versions from Dometic and Thetford are far more expensive, but they don’t seem to be of higher quality. Off-brand versions from online sellers are quite popular. I’ve used the Beech Lane versions with success, but I stay away from no-name brands, especially anything that costs less than $20.
If you want to replace a Dometic toilet water valve, here’s how you do it. These instructions are also useful for replacing a Thetford toilet water valve, as all the steps are similar.
Turn Off The Water Pressure
Disconnect the RV from the city water hookup and ensure the water pump is turned off. Then, turn on the bathroom water faucet – both HOT and COLD taps – to bleed the system pressure. Wait until there’s nothing left but a trickle.
Disconnect the Water Supply from the Toilet
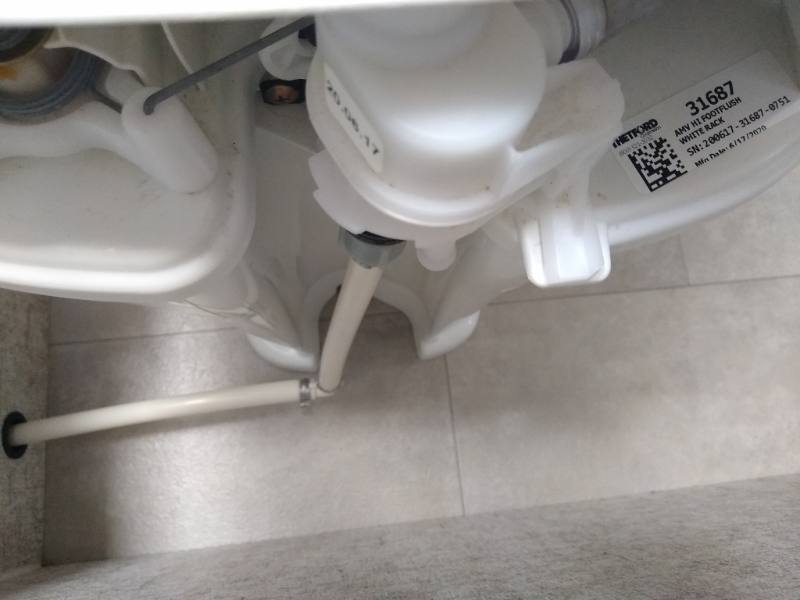
Most RV gravity toilets are directly connected to a PEX plumbing supply line with a simple swivel fitting. Unscrew this fitting. I recommend having a small bucket and rags nearby to clean up the inevitable spillage. Plug the line with a ½” MPT plastic plug to keep water from spilling out, or place the end of the tubing in a bucket.
Disconnect the Toilet Water Line
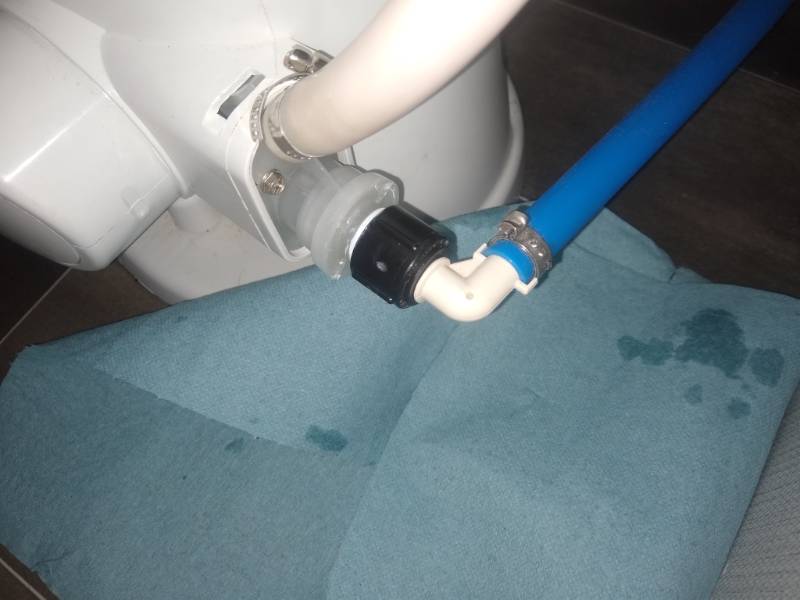
Usually, the toilet is fed from the water valve with a ⅜” or ½” PEX or vinyl hose attached with a hose clamp. Loosen the hose clamp and gently pull the hose off the barb fitting on the water valve. Don’t pull too hard, or you might tear the hose!
>>> READ MORE: All Your RV PEX FAQs Answered! (By an Engineer)
Decide Whether to Remove the Toilet or Not
Getting access to the toilet water valve can be difficult with the toilet installed. You may wish to disconnect the toilet from the floor flange by loosening the two brass nuts at the base. Be aware this will allow sewer gases to enter the RV, so cover the toilet hole with cardboard and tape – don’t cover it with anything that can fall inside!
If you leave the toilet in place, you’ll probably need some shorter screwdrivers to access the fasteners. Many drills and impact drivers won’t fit between the toilet and the wall behind.
Remove the Water Valve Fasteners
Most toilet water valves are held in place with 2-3 screws. These are usually either Phillips #2 or a ¼” slotted hex head. Remove these screws and set them aside in a magnetic tray.
Remove the Toilet Water Valve
Plastic spring tabs hold the water valve in place. You’ll need to depress these clips and pull out at the same time. Good luck!
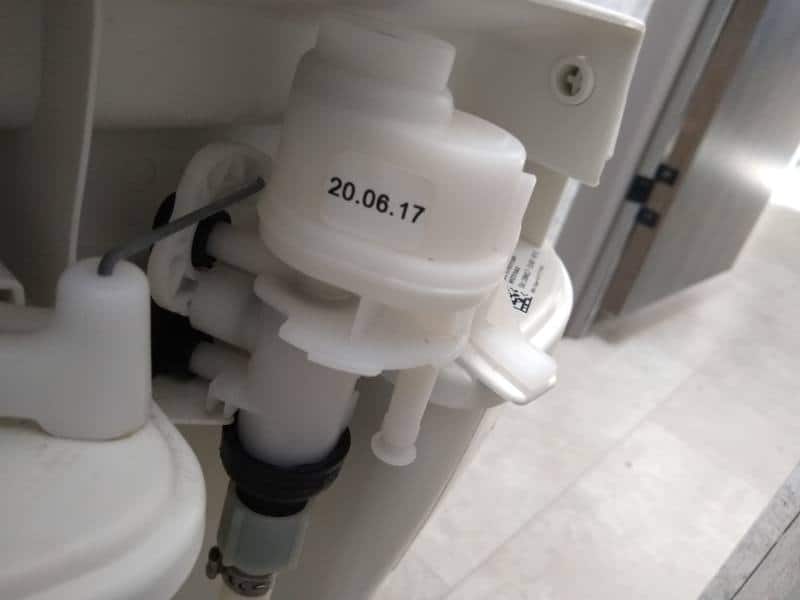
Some toilet water valves, like the Thetford Aqua Magic version shown below, also have a wire spring that slides into a pin. You’ll need to carefully disconnect this spring as well.
Install the New Water Valve
If the old water valve cannot be cleaned and reused, install the new water valve.
- Insert the water valve until the tabs snap in place. If needed, reset the spring[s].
- Reinstall the screws.
- Reconnect the toilet water line with a new hose clamp and tighten until snug. If you’re buying your own hose clamp, don’t skimp! Cheap hose clamps will strip out before they tighten all the way.
- Reconnect the PEX supply line with the swivel fitting. If plastic, tighten until hand-tight. Don’t over-tighten, and don’t use a wrench on plastic! For peace of mind, use food-grade pipe dope or another thread sealant (although it’s the cone washer, not the threads, that seals this kind of fitting). It’s best practice to replace the cone washer at this time as well.
This would be a good time to add a shut-off valve for future convenience as well. A shut-off valve costs $15 and allows you to shut off water pressure to the toilet, just in case something ever fails in the future.
If you removed the toilet for access, you’ll need to reinstall it now. Double-check the 3” foam gasket at the base of the toilet to ensure it’s in good condition as well.
Test the New Water Valve and Check for Leaks
Turn on the water pressure. Inspect all the fittings for water leaks. Next, cycle the toilet lever a few times, keeping an eye on the water valve for leaks (sometimes, they only leak when flushed). If everything passes inspection, congratulations! You’re done!
P.S. You should be using a water pressure regulator. I recommend not allowing your water pressure to be higher than 65 psi.
That’s how you replace a Dometic or Thetford toilet water valve. It’s an easy DIY job. Now, go wash your hands!
Leave a Reply