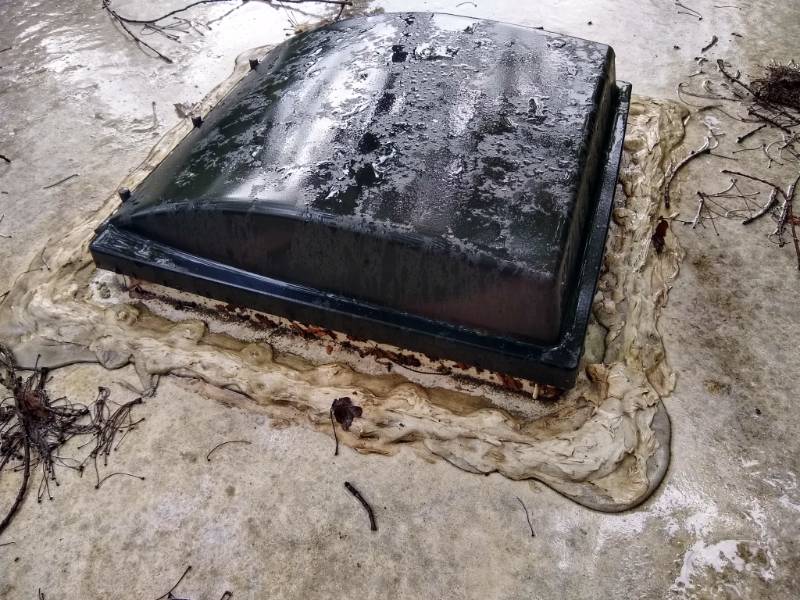
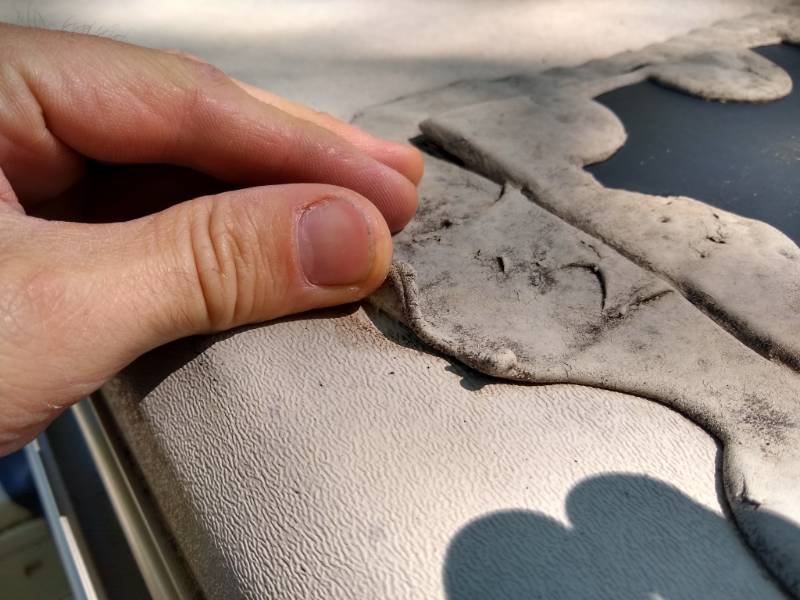
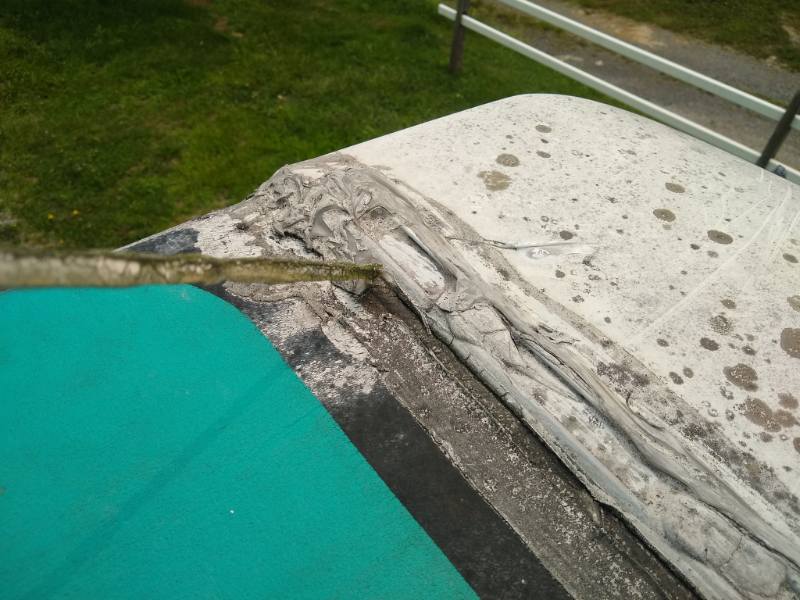
Everything on your roof – except for your air conditioner, which uses a thick foam gasket – is waterproofed with a butyl tape gasket underneath (where you can’t see) and a self-leveling cap sealant on top (what you can see). Flashing details vary by manufacturer, but the gasket-and-cap-sealant method is the de facto standard for RV construction.
It’s not like your house roof, which naturally sheds water because of overlapping shingles. RV roofs don’t have shingles. The gaskets and cap sealants do all the work. If these fail, your roof will leak.
How Often Should I Inspect My RV Roof?

I recommend conducting a thorough inspection of your roof twice a year: spring and fall. Inspect your cap sealants for signs of failure: cracking, peeling, flaking, bubbling, etc. If you see any signs of failure, you should scrape off the old sealant and replace it with new sealant. Don’t just look – touch and feel!
And don’t neglect the rest of the roof, either. Look for brittle plastic plumbing vent caps, rips in the membrane, mildew and algae growth, or branches stuck in the gutter rail. A clean roof is a functioning roof!
Some RVs come with built-in ladders; some don’t. Either way, I recommend setting up your own extension ladder and padding the roof with a moving blanket. Standard RV ladders are completely vertical, which are more dangerous and difficult to ascend.
Insider hint: Don’t wear hard-soled shoes when inspecting your roof. Wear soft-soled shoes, Crocs, socks, or just walk in your bare feet.
How Often Should I Replace My RV Roof Sealant?

How often should you replace your roof caulking? Well, that’s a can of worms. The most cited answer is once a year, but that’s overkill for most RVs. A good exterior sealant should last longer than one year, and in my experience, removing a sealant prematurely can do more harm than good. The sealant bonds to the membrane, which is typically thin and stretchy. You can cause bubbling or tearing of the membrane if you try to remove a sealant that doesn’t want to come off.
In my experience, most RV cap sealants will last for 3-7 years. The cheap stuff doesn’t last as long. Storing your RV indoors will extend the lifespan of the sealants. You want to replace them when they’re old but not yet failing.
Do I Need to Remove All the Old Sealant?
This is my opinion; others disagree with me. I think you should scrape off as much of the old sealant as possible.
Notice I said “scrape,” not just “remove.” I don’t think chemically removing sealant is a good idea. Most household cleaners and solvents (acetone, alcohol, citrus cleaners, mineral spirits, etc.) have little or no effect on cured caulk other than making it gummy. Solvents that ARE actually strong enough to dissolve caulk will typically A) damage your roof membrane and B) damage you because they’re so toxic! So I advocate using elbow grease and manual labor only: a plastic chisel, plastic scraping blade, or oscillating tool scraper. Leave the chemicals on the shelf.
The proper use for chemical solvents is cleaning the work area once the sealant has been mechanically removed. Use acetone, alcohol, or xylene to wipe down the area and remove any loose residue. Don’t try to melt away the original lap sealant with solvents!
I also advocate only removing as much sealant as you safely can. You won’t scrape off 100%. Some of it will have semi-permanently bonded to the membrane, and you can’t get it off without causing further damage. That’s okay. Just leave it and clean it. If you do rip the membrane, you’ll need to patch it with fleece-backed RV roof repair tape. Don’t just use regular EternaBond RoofSeal, since the backing is too smooth to bond.

Could you just splooge new sealant on top of the old? Erm … technically, yes, you can apply new Dicor 501 on top of old. But practically speaking, this causes more problems than it solves.
The old caulk should be thoroughly cleaned before applying the new stuff. By the time you actually clean the old, you may as well just scrape it off! Plus, you can’t just keep piling sealant on top of sealant. You’ll create a Goo Monster that traps dirt, hides leaks, and takes hours to remove. Ask me how I know.
It’s hard to genuinely clean the old sealant. You need to remove all debris, dust, mold, mildew, slime, and other gunk, plus scuff the surface with a Scotchbrite pad. Soap and water won’t do the trick; mold can still grow. By the time you’ve expended the energy to thoroughly clean the old self-leveling caulk, you would have spent just as much time removing it!
Will Resealing My RV Roof Stop Leaks?
One of the biggest misconceptions about RV maintenance is that resealing your RV roof will stop leaks. That’s NOT the point of maintaining your roof sealants. Stopping leaks is purely incidental and accidental.
Let me explain. Remember that butyl gasket? Well, the gasket underneath the mounting flanges of your roof components is the primary water barrier. The cap sealant is (supposed to be) just a flashing, something to redirect water. It’s a belt n’ suspenders approach.
So if your skylight, for example, is leaking, don’t just replace the self-leveling sealant. You need to remove and reinstall the skylight with a new butyl gasket AND new self-leveling caulk.
So What’s the Wrong Way to Reseal Your Roof?
Here’s the wrong way to reseal your RV roof:
- Neglect your roof until you notice a leak.
- Don’t remove and reinstall the failed component.
- Dump new sealant on the old without removing or cleaning the old stuff.
- Pat yourself on the back for a job half-assed.
My money is you’ll be back on the roof within six weeks.
Leave a Reply