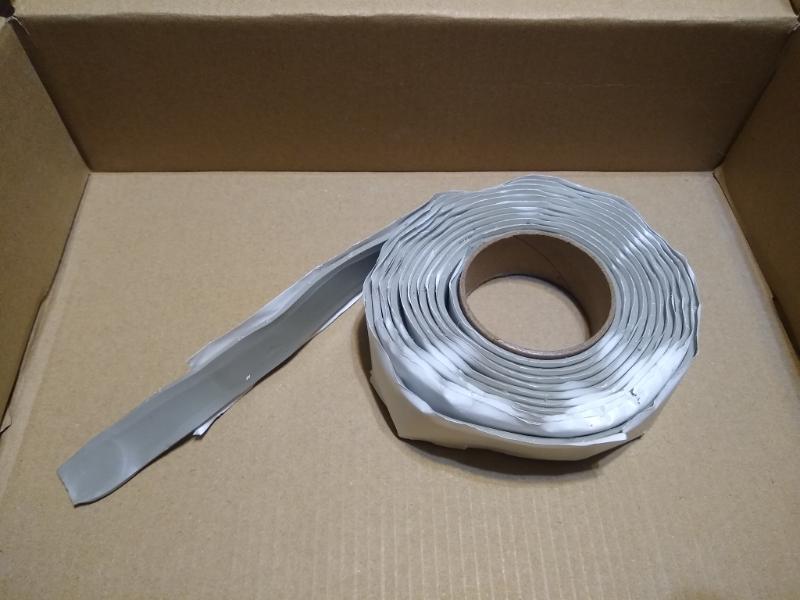
This is an ode to butyl tape, an RVer’s third hand in times of need.
Butyl tape is the secret sauce of RV construction. It’s a sticky, gooey, tacky tape that you’ll find behind entry door frames, exterior aluminum trim, ceiling fan flanges, awning mounts, and dozens of other components. It’s omnipresent. It waterproofs your RV’s exterior penetrations. And just as a sheriff of the Wild West carried a gun in his holster, so an RV DIYer should carry a roll of trusty butyl tape in their bugout bag.
Unfortunately, there’s a lot of confusion around butyl tape. What is it, exactly? And what’s the difference between butyl rubber tape, putty tape, and even more confusingly, butyl putty tape?
What Is RV Butyl Tape Made From?

Let’s start with the base: butyl rubber. Butyl rubber is a synthetic elastomer made by combining isobutylene and isoprene. It’s incredibly versatile. Butyl rubber is used as the base for chewing gums, marine bedding compounds, flashing tapes, diesel fuel additives, inner tubes, acoustic speakers, and even a C-4 explosive binding agent. It’s the archetypical jack-of-all-trades.
So don’t be confused when you see the term “butyl rubber” slapped on hundreds of types of sealants and glues; it’s a rubber of endless uses. Butyl tape is used extensively across construction industries: metal roofing, marine construction, window glazing, etc. The RV industry is just another consumer of this magical elastomer.
Tell Me All About RV Butyl Tape!
RV butyl rubber tape isn’t made of pure butyl rubber, of course. It’s combined with other chemicals and fillers. The end result is a double-sided tape, a malleable mastic (think of the consistency of masticated chewing gum or silly putty). Here are some of its characteristics:
- Pressure-sensitive, tacky. It’s aggressively sticky to dry surfaces (including your fingers!)
- Non-hardening, non-drying, and non-shrinking. Should not feel oily.
- Smooth and shiny appearance.
- Sticks to almost any surface (metal, fiberglass, plastic, glass etc.) but it doesn’t permanently bond. Therefore, it can be manually removed in the future.
- Airtight and waterproof. It’s elastomeric, both elastic and ductile.
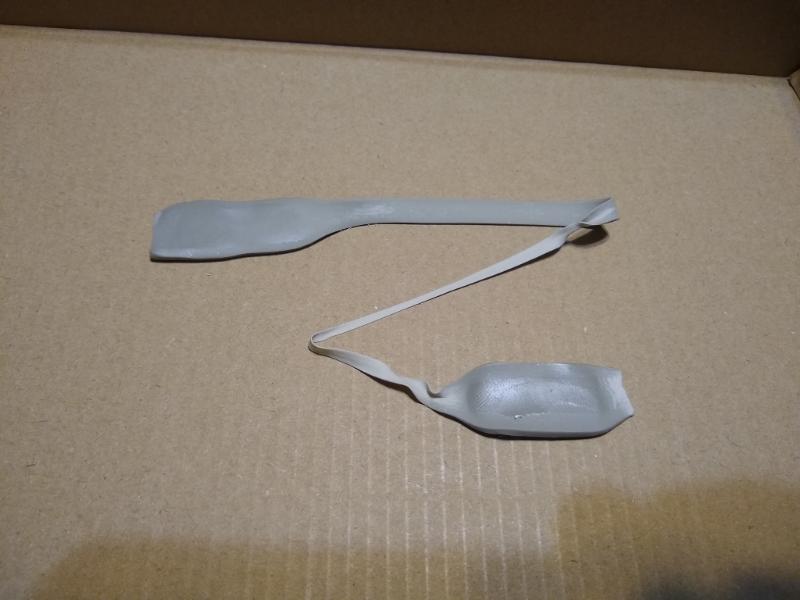
- If you stretch it past its elastic limit, it will thin to the point of obnoxiousness. It won’t tear unless it’s cold. Instead, it thins into super-fine hair-like filaments.
Want to know more specifications? Visit Alpha Systems’ page on their RV butyl rubber tapes.

The most common size for RV butyl tape is ⅛” thick by ¾” wide (1/8″ x 3/4″). It is sold in rolls of 20, 30, 40, and 50 feet.
- Some putty tapes are sold as 3/16” x 3/4″. I do not particularly like these, and I don’t buy them. In my experience, they are often too thin for the inevitable gaps.
- Some butyl tapes ares sold as 1/16” x 3/8″ or 1/16” x 1/2″. I always have a roll or two in my service fan. I don’t use these as compression gaskets, but they’re great for bedding fasteners.
- Some butyl tapes are sold as 1/8″ x 1-1/2″. This extra-wide tape is used when installing membrane roofs, skylights, and ceiling fans. Again, I always carry several rolls. In a pinch, you can double up two strips of 3/4″, but I prefer the seamless 1-1/2″.
Some RV butyl tapes are trimmable, some are non-trimmable.
- The trimmable types have less tensile strength so they can easily torn by hand or sheared with a blunt plastic tool. Trimmable tape is commonly used where squeeze-out is anticipated and will need to be removed (e.g., an entry door frame).
- The non-trimmable types have greater tensile strength. They are more commonly used underneath trim and mouldings. If you want to cut them, you’ll need shears or a sharp knife.
What’s the Difference Between RV Butyl Tape Versus Putty Tape?
Somewhat confusing, butyl tape is sometimes misgendered as putty tape. The two are not quite the same. Traditional putty was made with a linseed oil base, chalk whiting (calcium carbonate) and clay fillers. It hardened with time, UV exposure, and oxidation. It’s now known as traditional glazing putty.
But that’s not the kind of putty we’re talking about today. The term has morphed to encompass many clay-like hardening sealants. As I said, RV butyl tape isn’t made of 100% butyl rubber. Instead, chemical engineers add other bulk fillers, rubbers, and solvents. By tweaking the chemistry, you can change the final product. And that’s exactly what’s happened with RV putty tape.
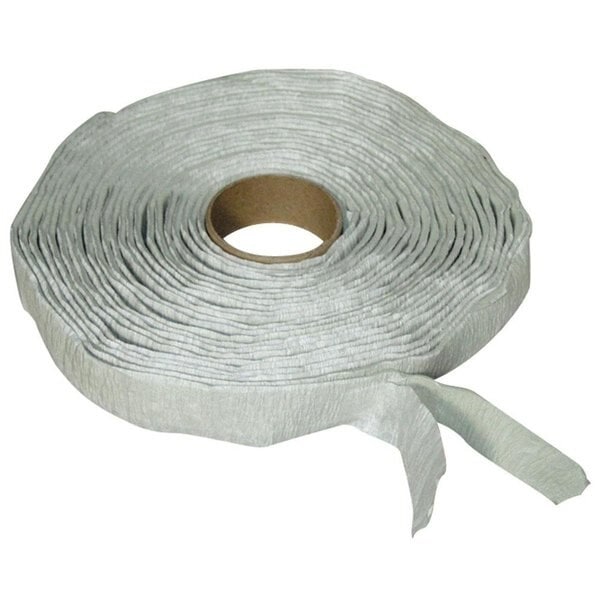
RV “putty” tape does look similar to “butyl” tape, but it’s not the same. It’s cheaper, less tacky, and easier to trim. It lacks cohesive strength. It can harden or shrink. Sometimes, it looks grainy or crinkly rather than smooth and shiny.

However, some RV manufacturers prefer putty tape because it’s A) easier to work with and B) cheaper to purchase. The downside is that it shrinks and hardens over time because of all the extra fillers. Eventually, it will fail, and when you remove your baggage door or ceiling fan or whatever you have, the putty will be so far gone it will flake off in chunks.
The truth is, there isn’t always a black-and-white distinction between “butyl tape” and “putty tape.” The two are on a spectrum; there are hundreds of formulations of “RV butyl tape.” Some are made to resist cold flow; some for better compressibility, for low application temperature, for adhesion to low-energy surfaces. The list goes on and on!
I do not personally use RV putty tape. I don’t trust it for the long term. You really do get what you pay for.
How Do I Apply Butyl Tape?

Working with butyl tape is easy!
- Clean the mating surfaces with an evaporative solvent like alcohol.
- Roll the butyl tape onto the object, not the RV itself.
- Overlap tape ends by 1/2″. Never leave gaps!
- If going around sharp corners, remove the backer liner first.
- Use firm hand pressure or a 2” roller to firmly adhere the tape to the substrate.
- Remove the siliconized liner.
- Carefully position and press down the object! You only get one shot!
- Remove any squeeze-out.
- I recommend the belt and suspenders approach. Apply a bead of caulk over the butyl rubber tape to prevent oxidation.
Hot hint: When working with corrugated siding, fill in the valleys with short strips of butyl tape first, and then apply a second continuous layer on top of the peaks.
Butyl tape doesn’t like temperature extremes. At temperatures below 40-45 degrees, it can turn rather hard and intractable. At temperatures above 95-100, it can be clingier than your ex. Somewhere around 70-75 degrees is optimum.
>>> READ MORE: How NOT to Remove RV Lap Sealant (Common DIY Mistakes!)
Can I Trust the Color to Tell the Difference?
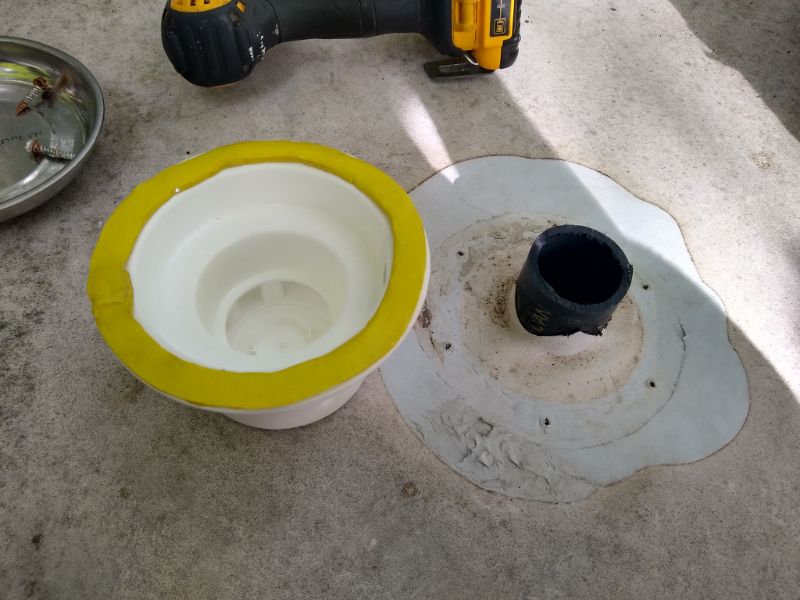
The color of butyl tape doesn’t tell you much about its chemistry. Butyl tape is sold in white, gray, brown, and black. Coloring agents can be used to create any color (I even have yellow!). As a rough rule of thumb, however, putty tapes tend to be white or brown, and butyl rubber tape tends to be gray or black. But that’s not gospel.
Can I Trust the Labeling?
Unfortunately, no. I’ve seen butyl tape sold as putty tape and putty tape sold as butyl tape and both tapes sold as butyl putty tapes. It’s maddening.
Where Should I Buy Butyl Tape?
There’s nothing wrong with high-quality RV butyl tape, and I’ve used miles of it. You can also buy butyl tape used for steel buildings or steel roofing, which are available at many contractor and home improvement stores. If you want the best-of-the-best, you can buy marine-grade above-the-waterline butyl bedding tape.
Butyl tape usually has a recommended shelf life of 12-24 months, so don’t stockpile too much! Keep it bagged. Then again, if your butyl tape is going bad after less than a year on the shelf … maybe it’s not the best quality for your RV??
How Do I Trim Butyl Tape?
For trimmable butyl tape or putty tape, I would recommend a plastic chisel or plastic scraper. You can get away with a utility knife, but try using the back of the blade first. You’d be surprised how well it works, and there’s less risk of scratching the substrate.
Leave a Reply